Garden, Spring 2014 Edition

Thanks to some lessons I learned with last year’s garden, I made some different choices this year.

Last year, I planted tomatoes and various peppers in the back right bed, two varieties of strawberries in the front right bed, I left blueberry bushes in the back left bed, and I planted an existing set of jalepeno plants in the front left bed.  I later added a volunteer watermelon vine and a volunteer cherry tomato plant I found in the other beds.

This setup revealed a few things — The front left bed grows plants very well, but the back right bed does not.  One variety of strawberries was also low yield because the berries grow close to the ground where the berries are hard to find and susceptible to pests.  That variety also produced small berries that weren’t very flavorful.  The other variety of strawberries,  however, grows berries up above the plant leaves and produces larger, more flavorful berries.  Also, the blueberry bushes never got much traction in coming back to life after I under watered them when I first planted them.

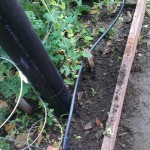
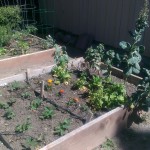
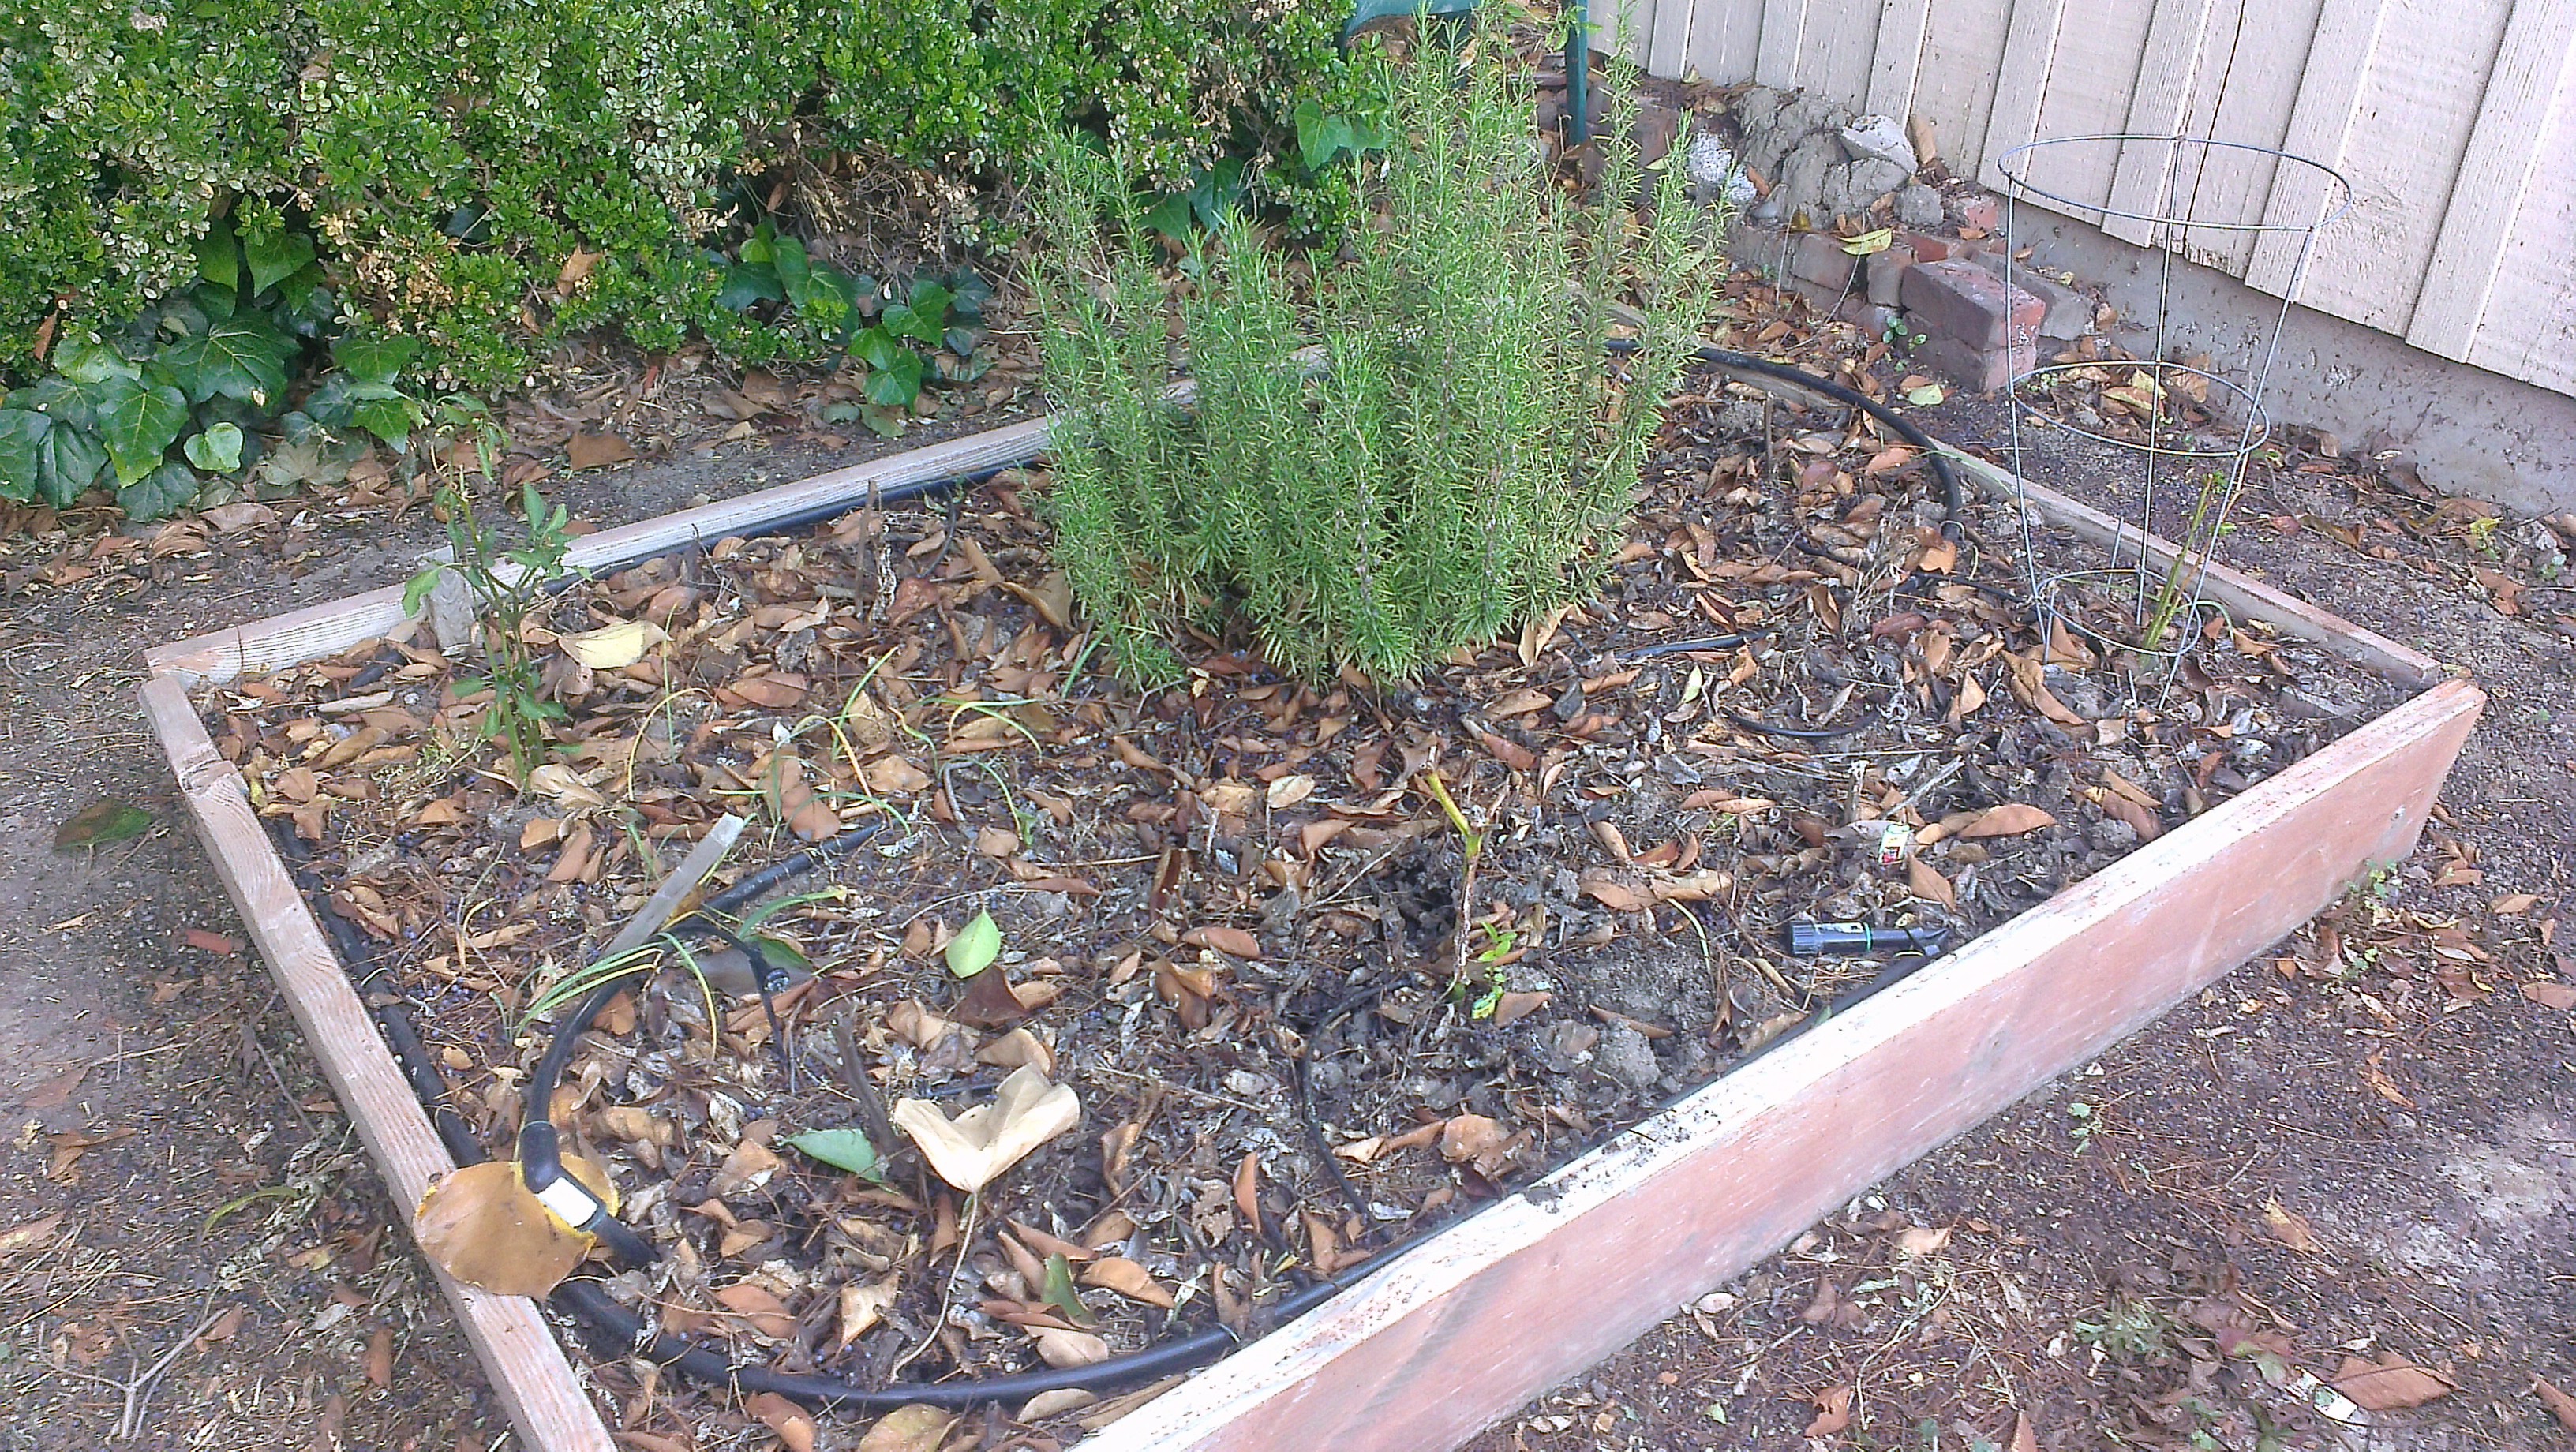
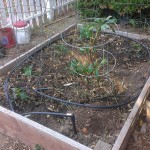
So this year, I’ve done things a bit differently.  I’m leaving the back right bed basically fallow in the hopes that the compost worms I put in the ground ages ago improve the soil.

IMAG1148

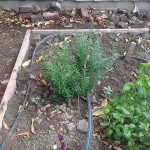
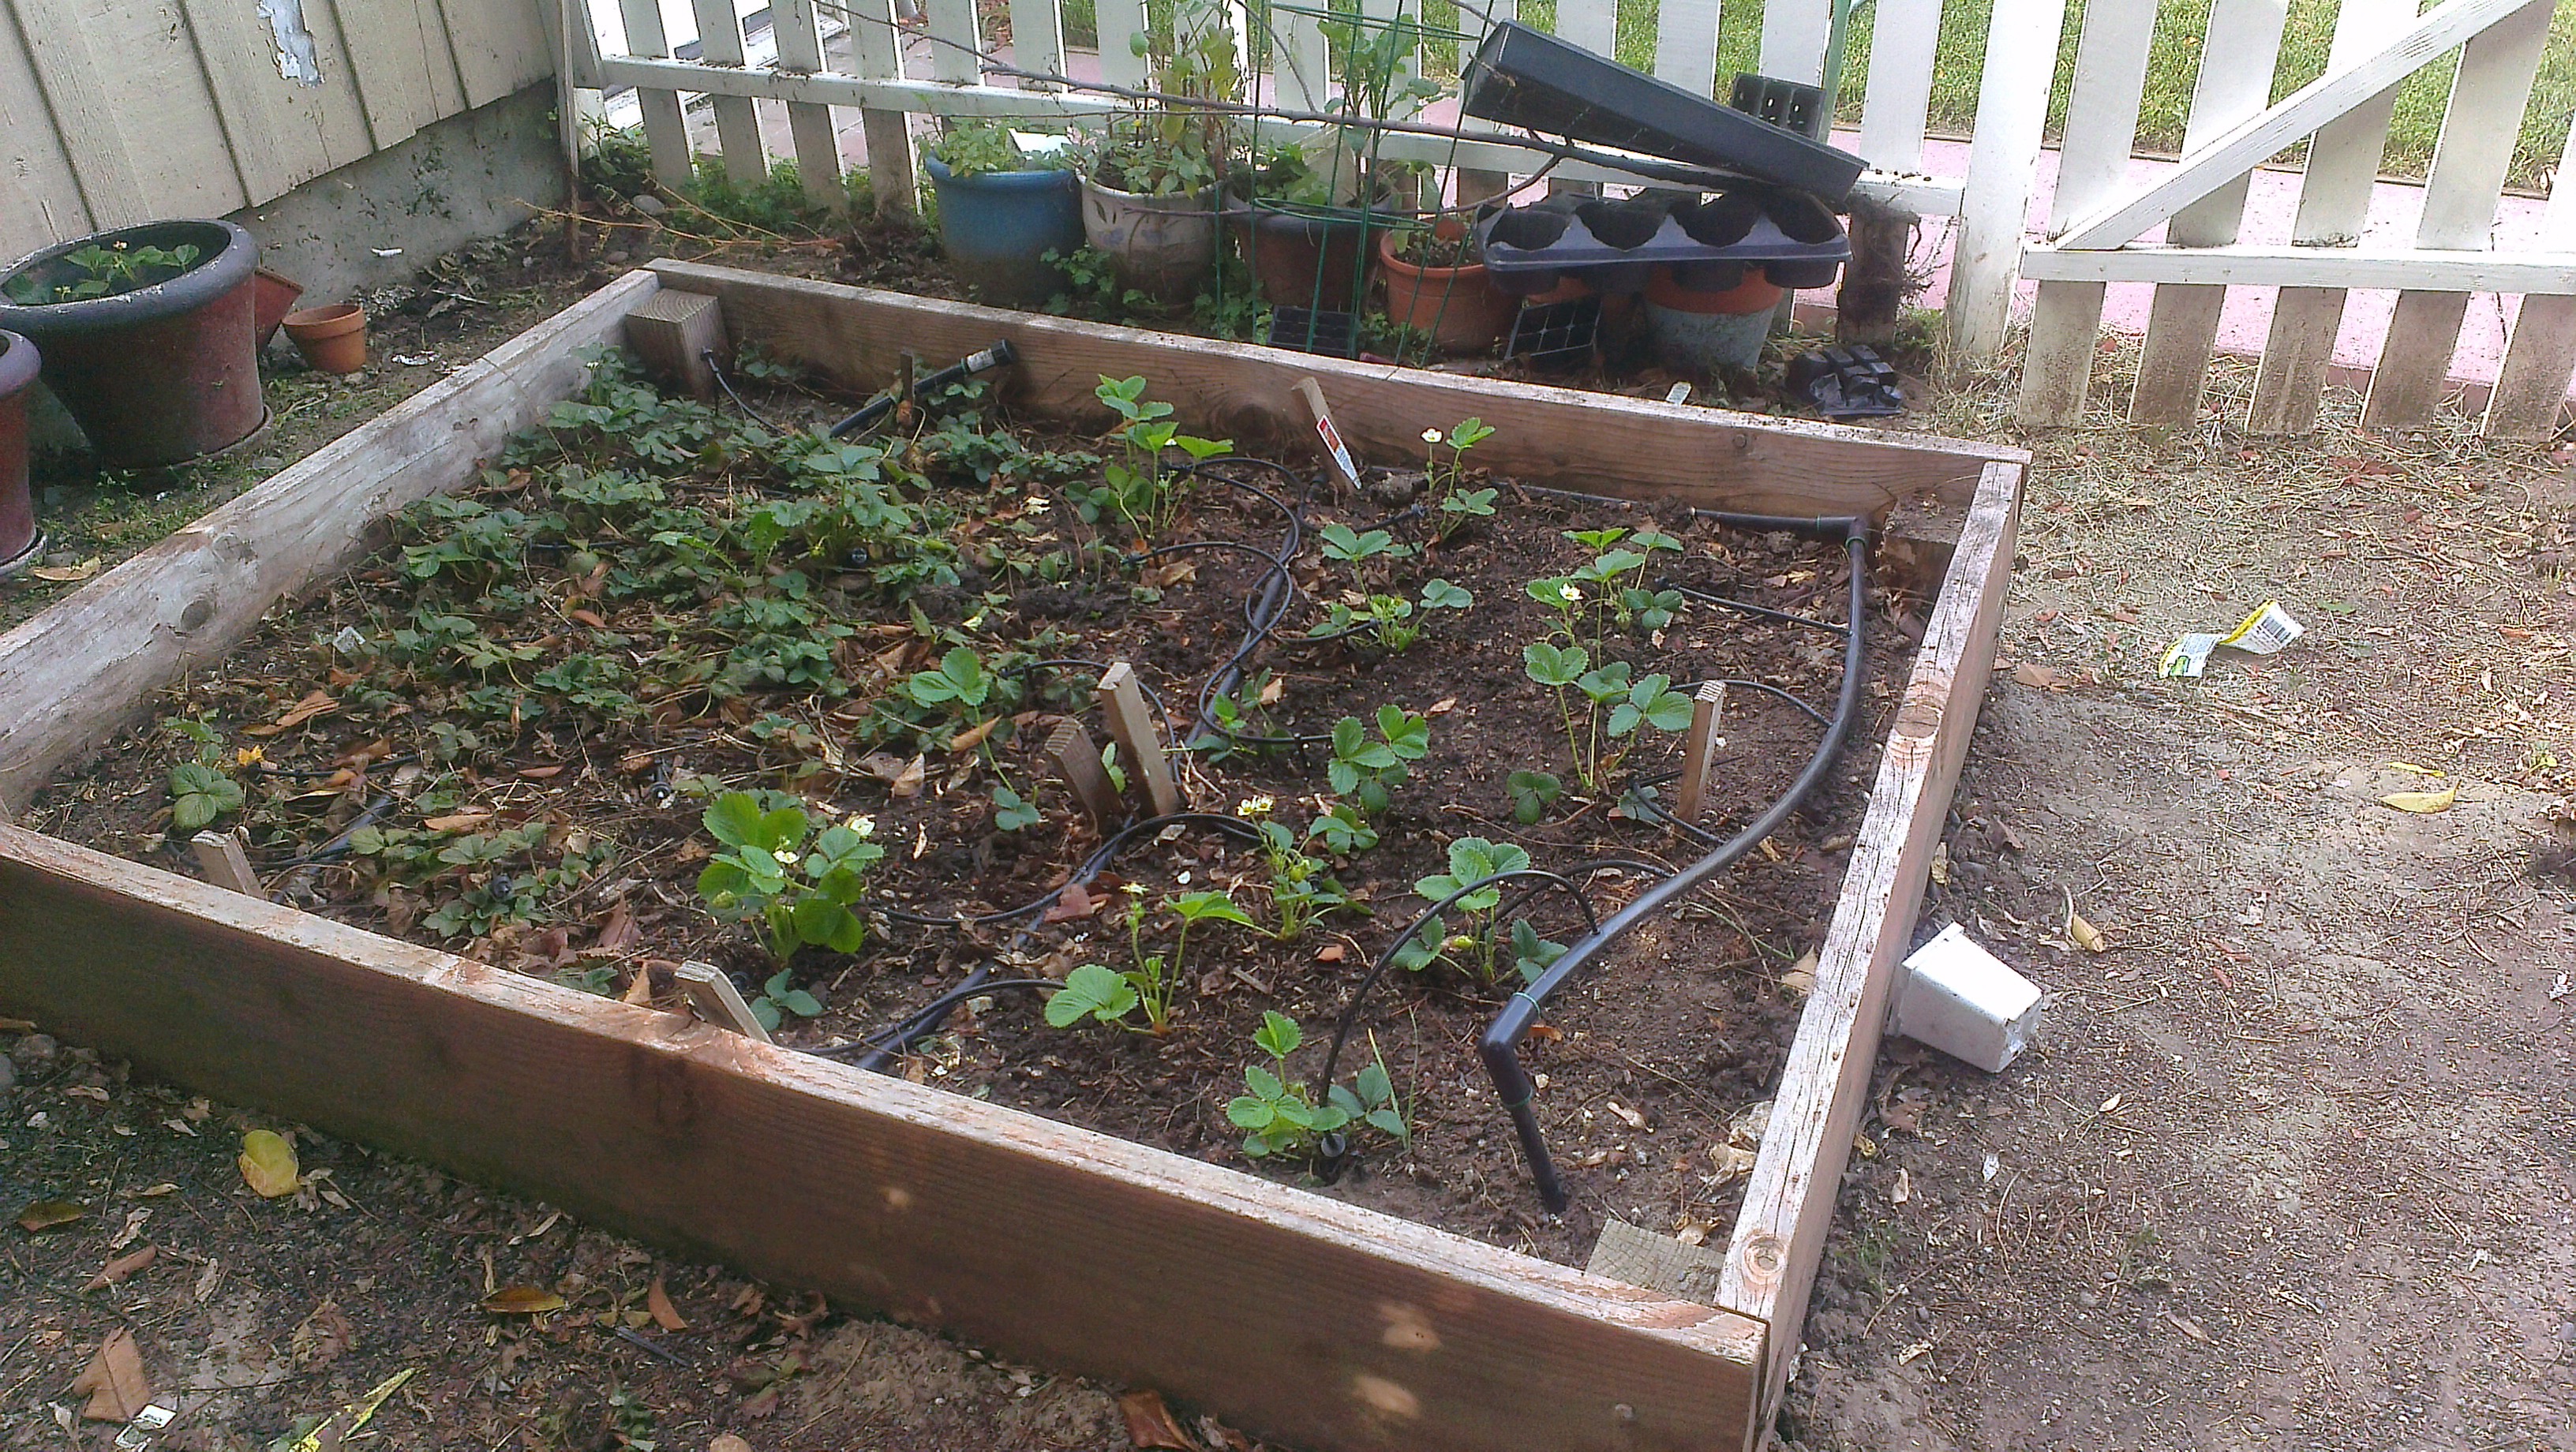
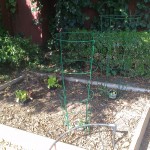
I ripped out most of the variety of strawberries I didn’t like, and planted more of the variety I did like.

IMAG1144

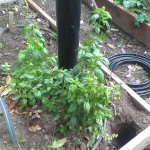
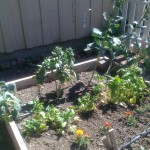
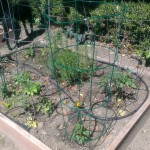
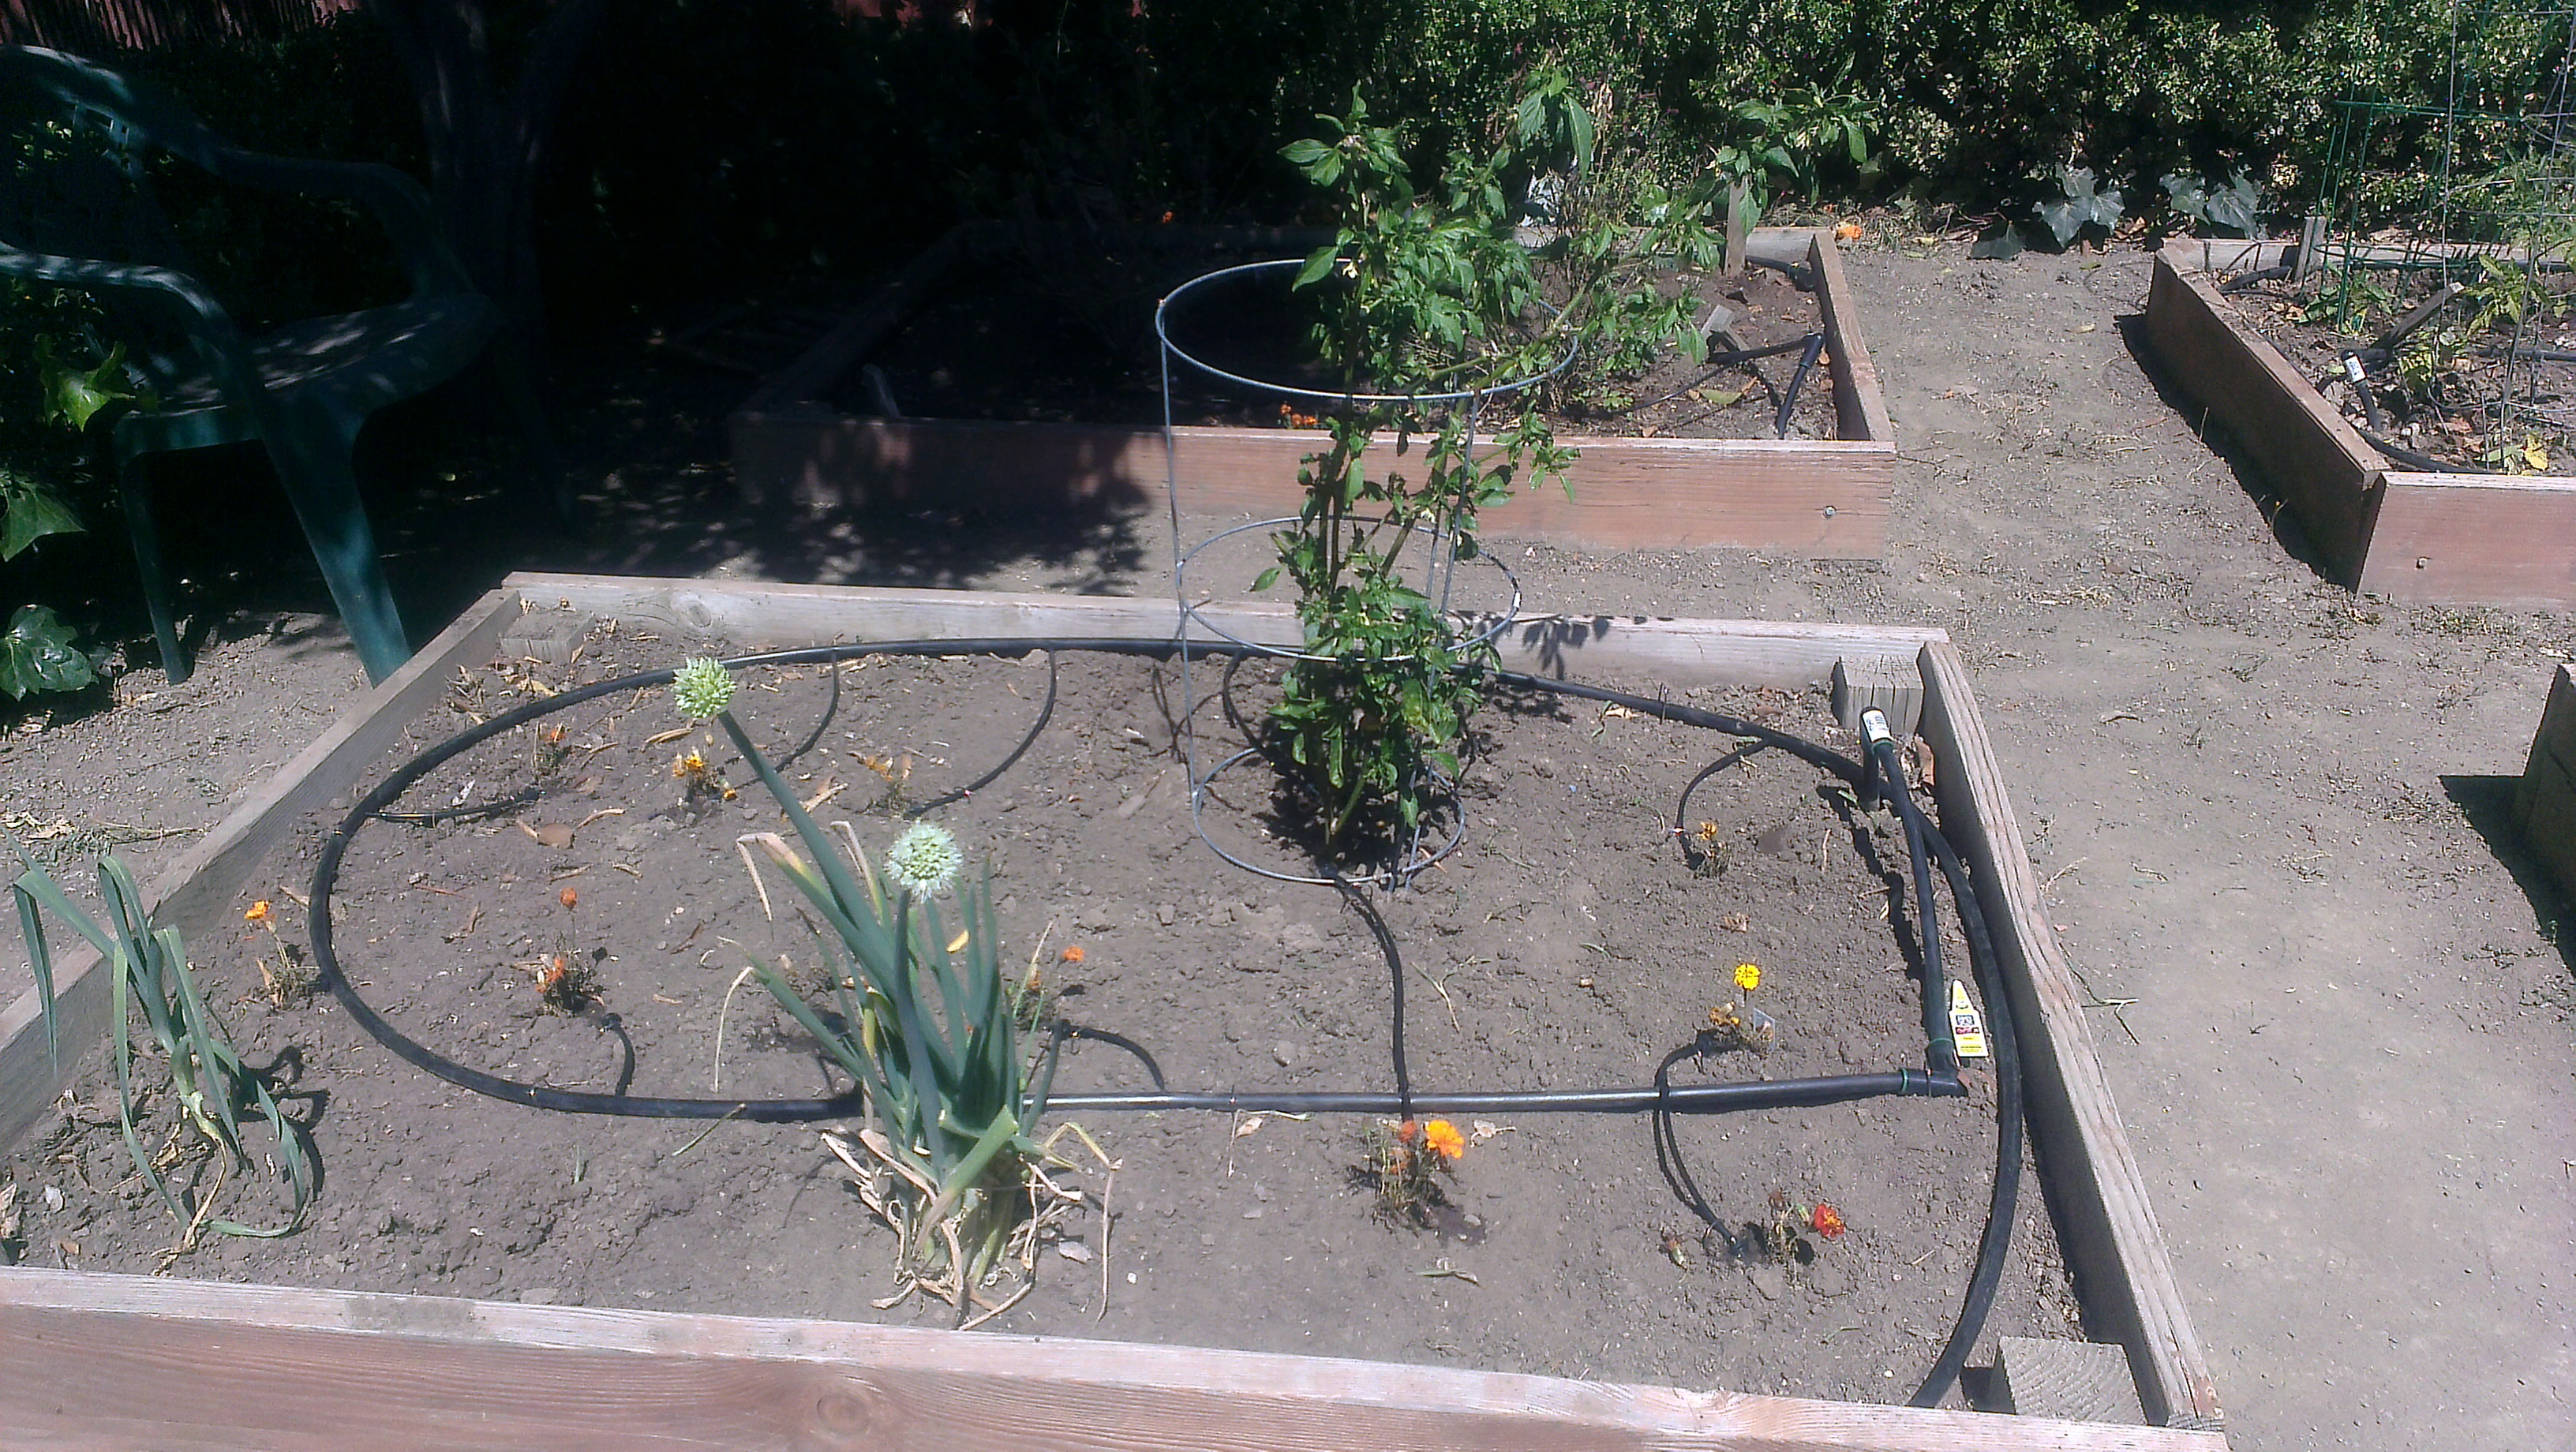
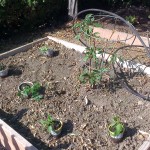
In the front left bed, I planted three tomato plants and two new jalepeno plants.  I also left in my existing jalepeno plant.  It produces jalepenos that aren’t spicy at all, but they add a nice vegetable touch to things like breakfast eggs.

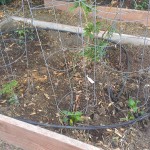
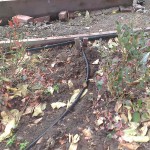
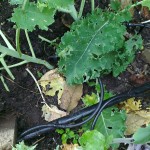
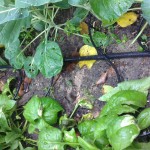
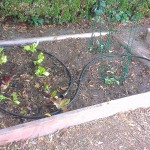
In the back left bed, I pulled out the blueberries and planted mixed lettuce and cucumbers.  I’m hoping this bed is perfect for these, as it gets the least sun.  Cucumbers and lettuce prefer cooler spots to grow, so hopefully the partial shade will help them thrive.

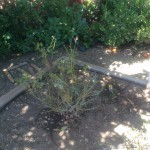
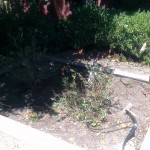
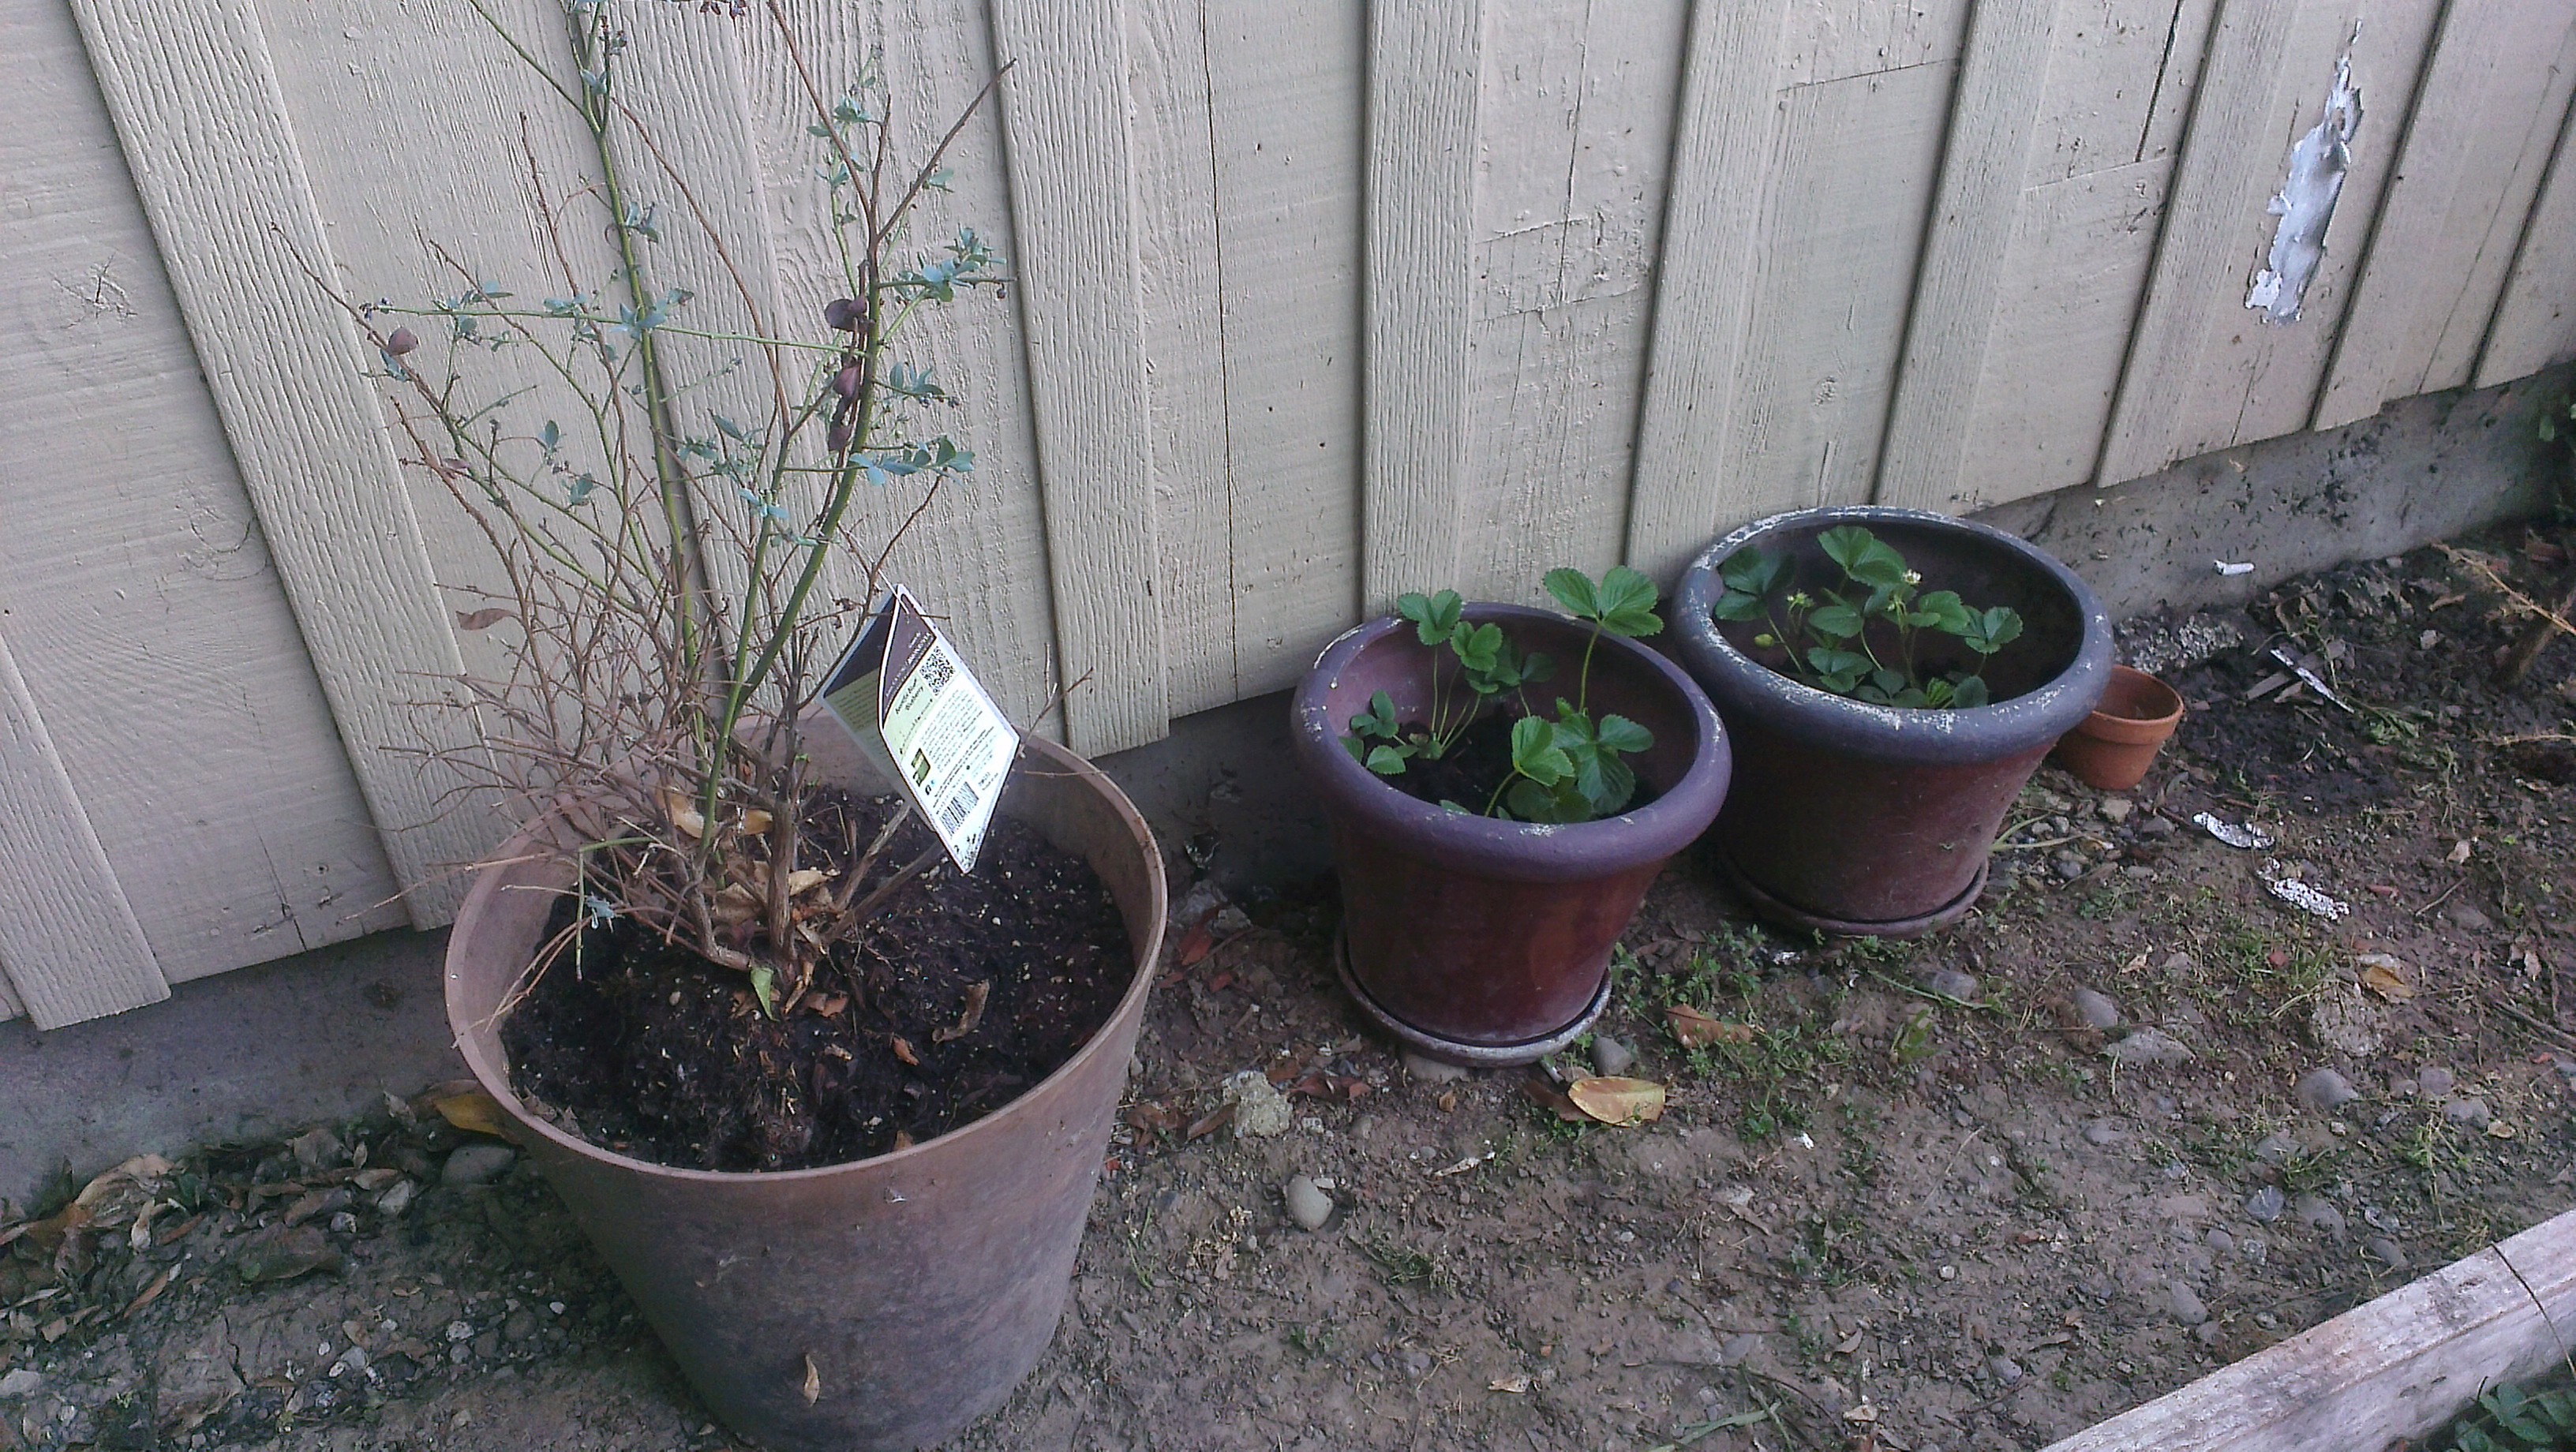
As a final touch, because I hate to give up on any plant that might still be alive, I planted the blueberry bush that’s still hanging in there in a pot.  I also over bought on strawberries, so some of those went in pots as well.

IMAG1152

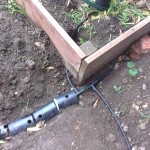
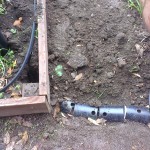
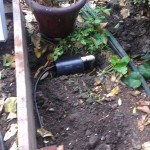
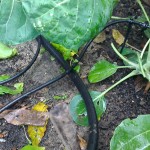
That covers all the planting I’m likely to do this year.  Next up — I need to adjust my irrigation for the new plant locations.

Pico de Gallo

I just harvested a bunch of tomatoes from the garden but we’re about to go out of town for a week, so I made a big bowl of pico de gallo in the hopes of eating the tomatoes before we leave.

Here’s what I used:

  • 10-ish tomatoes, chopped
  • 2-ish cups white onion, chopped
  • 3 jalepenos, diced
  • 1 serrano, diced
  • 1 lime, squeezed
  • 4-ish drizzles olive oil
  • salt, to taste

I chopped the tomatoes first, and tailored the other quantities of ingredients to that.  I then added everything else to taste.   It’s not very spicy, except when I get a piece of jalepeno or serrano.  I didn’t add more pepper, though, as it will get spicier as it sits.


IMAG0832

Garden, Irrigation Edition

When we first moved in to this house, the back garden irrigation was handled by a single drip hose wound through all the beds.  This hose started at the water spigot, went under the first bed edge, up into the bed, looped around in the bed, went back underground, then back up into the next bed.  This continued for all four beds.

This setup had a few problems.  First, one of the hoses was severely degraded from laying in the sun so long.  Second, the single hose nature of the setup meant the decayed section was nearly impossible to replace.  I tried, but was unable to make the setup not leak.  Finally, the spray wasn’t directed in any form, wasting a lot of water.

So, we replaced the setup with a more directed irrigation system.  First, Matt dug from the spigot, alongside one bed, into the center between all the beds, then up into each one.  He ran irrigation line up into each bed from this center line, through the holes into each bed.

Once we had the center lines in, we were able to easily connect more hose, loop it about the bed based on the locations of the plants we’d already put in, and then put in smaller hoses and drippers to reach each plant.  We also used elbows where we wanted more exact turns.

Garden, Spring Edition

The rose bushes and the irises have been in full bloom lately, giving the backyard lots of pretty colors.  Also contributing to the colors are the potted marigolds I’ve put around for pest control.

I was reminded that marigolds are a pest deterrent when we were in Cuba in March.  Almost all farming in Cuba is organic, because fertilizer and pesticide are too expensive for most farms to afford.

Over the past few weeks, I’ve been working on the back garden.  I ripped out the kale and peas I planted in the fall, as they were looking pretty sad.  This made room for strawberries and marigolds.  I left in the spinach and brussels sprouts.

In another bed, I planted tomatoes, basil, jalepenos, serranos, and bell peppers.  Again, I included some marigolds.

I added marigolds in with the blueberry bushes.  The bushes are looking a little sad — I’m not sure if it’s a lack of sun or a lack of water.  I added a couple of extra irrigation hoses, so we’ll find out if it’s water soon enough.

In the fourth bed, I planted last year’s jalepeno plant that had been living in a pot.  I also planted the rest of the marigolds (I definitely over bought!), a random leek that decided to sprout instead of compost, and some green onions that I planted from the very roots of green onions we bought to eat.

IMAG0659

I also cleaned up leaves and weeds from the spaces between the beds.  Eventually, I’d like to put in some ground cover back there too.  My current though is that a crushed rock path would be nice, but I haven’t priced it out.


Mulching the Rose Bushes

I’ve been entirely unable to keep up with the weeds in the rose beds on one side of the yard.  Today, we took advantage of the rose bushes being cut back for winter and the weeds being less robust due to winter and weed whacking, and we spruced up the beds.

We laid down landscape fabric, then covered with mulch.

Here are the before pictures:

And here are the after pictures:

I’m much happier with it like this.  We might have underbought a bit on the mulch, so we’ll see what it looks like in a few days.

Now that this side looks so good, I’m definitely doing the beds on the other side of the yard sometime in the next few weeks.

Recent Yummy Things

We’ve made a number of yummy things recently.

We made pretzel dogs following this recipe: http://joythebaker.com/2012/01/mini-pretzel-dogs/

We harvested a couple of buckets of citrus fruit off the tree in our back yard, and squeezed them for juice for mimosas.  We think they’re Satsuma Mandarins, and they made delicious mimosas.

IMAG0135 IMAG0134


And we made a batch of bread dough we can keep in the fridge and bake parts of whenever we want.  We’ve had lots of success with this in the past, and so we started it back up again.

IMAG0136 IMAG0137

Delicious, Delicious Pot Pie

So, we make pot pie on a regular basis, but I think this one wins.  Here’s what we did:

First, I harvested some kale, rosemary, and peas from the garden.  I also grabbed some carrots from our farm box, and a potato and an onion we had lying around.

I chopped everything up, boiled the potato, carrot, and peas, and sauteed the kale.  I then chopped up some chicken and sauteed it with the onion and rosemary.

The veggies went into a baking dish.

Then I mixed the chicken in with the veggies.  Next, I made a roux with 1/2 cup butter, 1/2 cup flour, and then added almond milk until it looked right.  The texture was a little weird — more like a dough than a sauce, but once I mixed it up with the veggies and chicken, it worked out totally fine.  If I had to guess, I’d say I used maybe a cup of almond milk, but I definitely didn’t measure.

I then topped it with a pie crust that Matt made.  I believe the crust had butter, water, flour, and some herbs.

I popped the whole thing in the oven at 400 degrees for ~40 minutes, and it came out golden and delicious.

I will definitely make pot pie this way again.  In the past, we’ve made the crust with shortening, and we haven’t mixed the milk in with the roux.  Using a butter crust and mixing the milk (well, almond milk) into the roux were definitely good choices.

Garden, before

A few months ago, we started renting a house near Downtown San Jose.  There are lots of great things about this house, but one of the things I’m most excited about is the garden.

When we first moved in, however, the garden needed a little love.

So, I spent a weekend pulling up all the weeds, raking the dirt, trimming the bushes, and removing the trash.  Afterward, the garden looked much, much better, but was still a little empty, except for the rosemary I decided to leave in and bring back to life.

The garden is pretty awesome — it has four raised beds, and a citrus tree.

You can see the base of the citrus tree in the above picture.  We think it’s some kind of orange tree.

It may be tough to see, but those black irrigation lines need some love.

This bed is ready to be planted!

Helo made sure to help.  Or supervise.

In future posts I’ll talk about what I later planted, how we solved the irrigation issues, and my worm composting.

Kale and Cornbread Dinner

Tonight, we did kind of a Southern dinner and made cornbread and sauteed greens.

For the cornbread, we used a Joy of Cooking recipe.   We substituted almond milk for cow’s milk, because my stomach doesn’t get along with cow’s milk.

For the greens, the basic recipe is below.  I used two kinds of kale from my garden.  I didn’t actually measure the vinegar, I just glugged.  Next time, I’ll definitely use less.

  • 4 strips bacon, cut in half
  • 2 cloves garlic, diced
  • 1 Large bunch greens
  • 1/2 cup chicken stock
  • salt and pepper to taste
  • 2 Tablespoons red wine vinegar

Cook the bacon till just crispy on medium heat.

While your bacon is cooking, chop the greens.  For large leaves, fold in half and remove the stem by cutting parallel to the stem, between the stem and leaf.  Then, stack your leaves, cut down the middle the long way.  Stack the halves, and cut down the middle again.  Then, chop up the greens across the short  side.  For smaller leaves, you don’t need the second cut down the middle.

Once the bacon is crispy, remove from the pan, lower the heat and add the garlic to the hot bacon fat.  Cook the garlic for a couple of minutes, until just soft and you start to smell lots of yummy garlic.

Once the garlic is ready, add the stock and greens.  Stir everything up until most of your greens are coated in liquid.  Turn the heat to high,

cover, and let sit for about 5 minutes.  Chop up your bacon.  Once your greens are g

ood and wilty, remove the lid and season with salt and pepper.  Stir occasionally until all liquid has evaporated.  Add the vinegar and bacon, and mix everything up.  Serve hot.

Freshly washed kale from my garden